Wednesday, July 27, 2022

Top 5 Reasons To Live In The Country


Living in the country, with the wide open spaces is probably one of the best things in life. I'm so thankful to have grown up with farmers and country folk. This is not to say I didn't go through a phase where all I wanted to do was leave the country. But every time I came back to visit, there was something that would draw me in. A familiarity that gave comfort. Here are my top 5 reasons to live in the country in no such order:


1. Humility. Country life brings humility. Your country home may be small or large in stature, old or new, either way it's not so much of a comparison game when living in the country. Country folk who live in 115 year old homes might long for want a new home but since they can't have that Holywood home they make the best of what they do have.  Our home was built in 1912. It has many small rooms and hardwood floors throughout. We have outdoor wood stove that heats the home in the winter time. Cutting wood every weekend in the fall builds character.


2.  Freedom. Freedom to sing in your front yard with no one listening to you! Be who you are on your land. We have gardens, fields, a 4-wheeling track, a silo to echo in and a barn for the cats. 

3.  Folks. Do people still use that word 'folks'? That's how I would refer to the people that live in the country. Country folk. Friendly, happy and neighborly. Country folk like to stop by on Sundays or any random day without letting you know they're coming. Last year, I was injured badly cutting grass with my John Deere Lawn tractor, it was my farmer neighbor who came over and sped me to the emergency room. He was in his barn. He was available. We share equipment with neighbors. We do life with neighbors, even though they live more than a stones throw away.


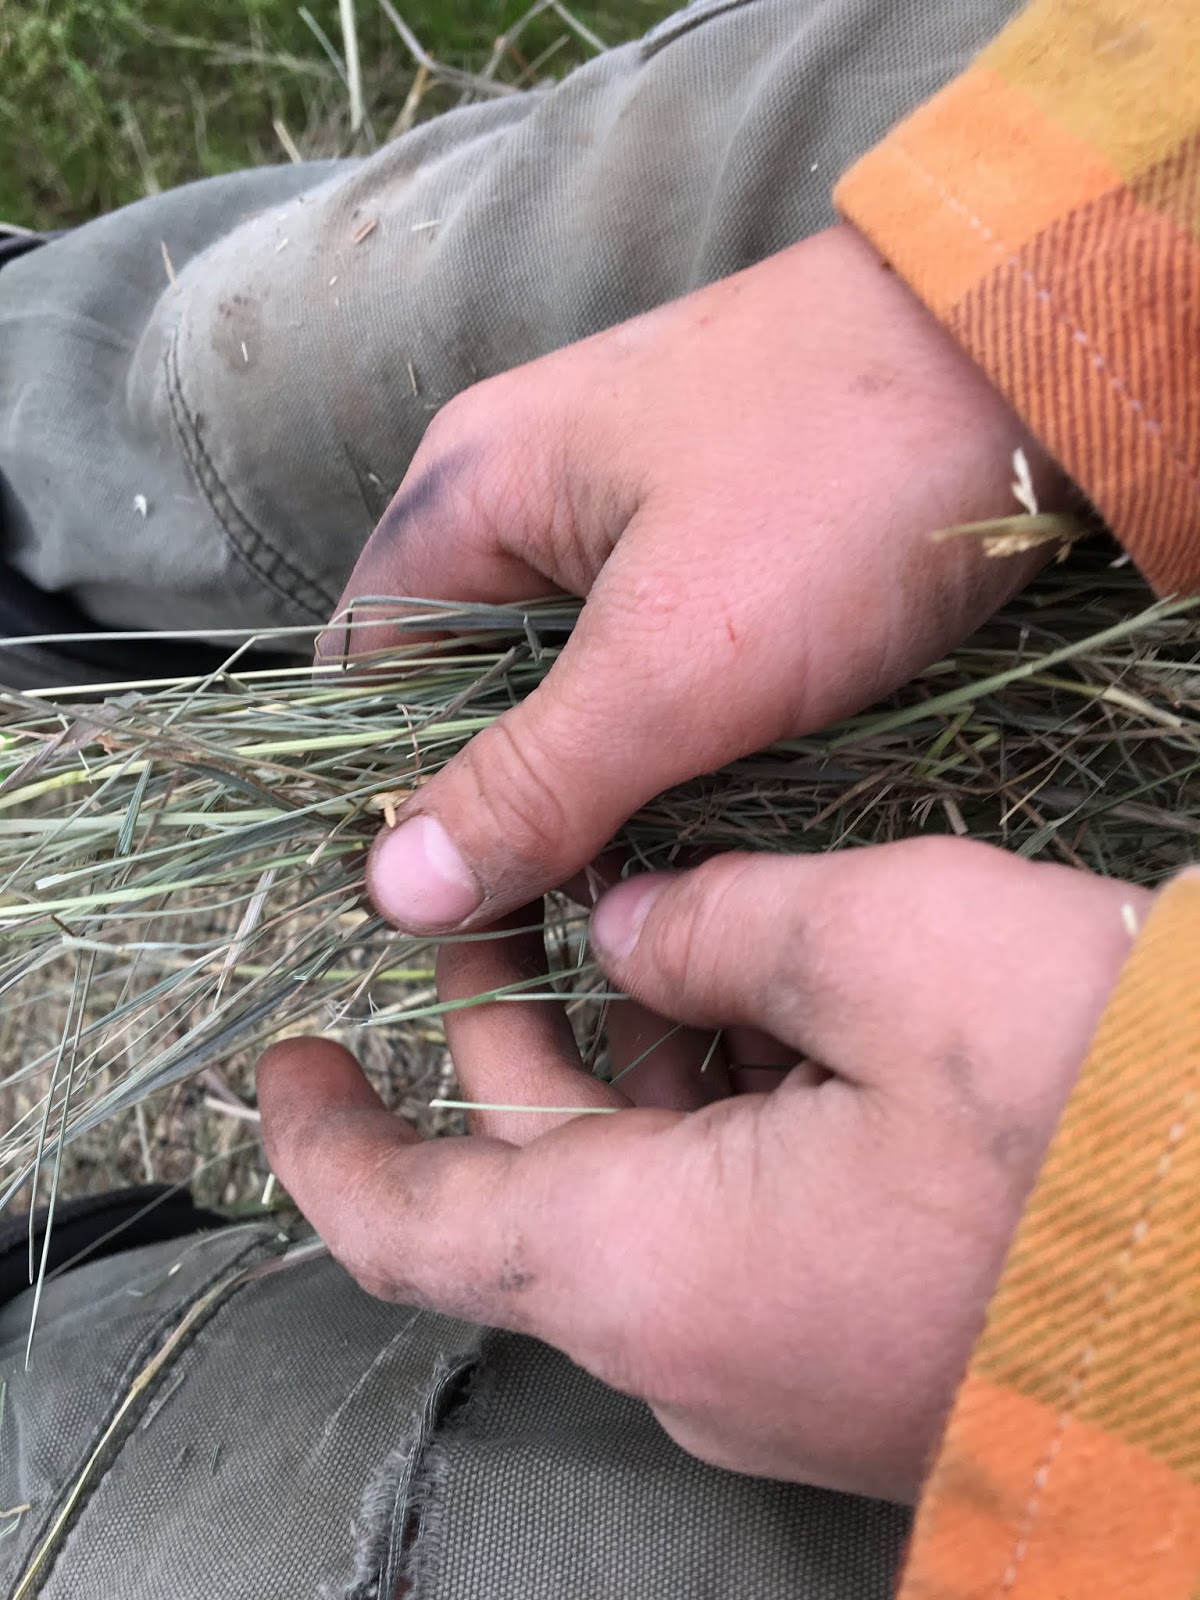
4. Slow life. People drive slow, walk slow, sometimes even talk slow. The high energy people are content to work hard all day long. Moving back to the midwest from the west coast was a culture shock for me. Being used to driving 80mph on a 16 lane highway, I was terribly irritated with 60mph on a country road, terribly irritated. But then I slowly became 'one of them' and drove slower. I learned that we can enjoy the land and people around us better if we would just be forced to slow ourselves down. Are we still in a hurry to do things? Yes, all the time. But farm life, is a process and it is a slow life. Hard work is slow and takes time. 


5.  Air. Yes air quality tends to be better but really just the freshness the air. The crisp, cool autumn mornings have a damp, wet freshness to them. In early spring when the birds have returned and they're perching in the tall naked trees abundant in song is a sweet time to open the windows and breath in the cleanness of the air. Early June the farmers cut their first crop of alfalfa off the fields the fresh cut crop sails throughout the land. Winter snowfalls actually has a smell, did you know that? But generally it's so cold, the second you stick your nose out the door your nose freezes and the smell is gone. But you can FEEL the air! As much as I loved the smell of driving down to the coast breathing in that salty oceanic air, there is something just as wonderful as country air.


Thursday, February 27, 2014

Vanilla Bean Ice Cream

You'll never purchase another tub of grocery store vanilla ice cream after eating this!


Black bits of vanilla beans. 

Rich and creamy. 

This batch of Vanilla Bean made about 1 1/2 pints. 

Mexican Chocolate Ice Cream

Mexican Chocolate has serious flavor. 
 A medium chocolate ice cream with a pinch of cinnamon and hints of cayenne. 

First the chocolate hits your tongue, then comes cinnamon, at the very end cayenne.

Creamy, scoopable, rich Mexican Chocolate Ice Cream.

This batch made about 2 pints. 

Tuesday, February 25, 2014

Marshmallow Chocolate Almond Ice Cream


Gloriously rich and full of flavor. Marshmallow, chocolate bits and toasted almond make this ice cream one to keep coming back to. 

Marshmallowy Chocolate Almond Ice Cream


Homemade Marshmallows, toasted almonds, and dark chocolate semi-sweet bits.


Notes on this ice cream:

Marshmallows:  This was my first attempt at making homemade marshmallows. It is seriously easy, however, I might have whipped them a bit too long because they became a little to rubbery for my liking. I found myself avoiding them in the ice cream. Next time I will whip them about a minute less, add one less gelatin packet and add a vanilla bean for bursting flavor. Marshmallows were layered in as I packaged the ice cream.  

Chocolate:  I was trying to create more of a chocolate swirl rather than 'bits'. The melted dark chocolate hardened as it hit the ice cream. I should have known this would happen. It's obvious.

Toasted Almonds: I used raw almonds. Toasted them for about 6 minutes. Roughly chopped them and layered them in as I packaged the ice cream.

There are many changes I would make to this particular batch, BUT it was gloriously rich and flavorful. No complaints and give me another scoop! 

Lemon & Blueberry Frozen Yogurt

Tangy lemon yogurt with sweet blueberry swirl. 
The flavor leaves you wanting more and more and more!

Lemon & Blueberry Frozen Yogurt


Made with fresh juiced lemons and homemade blueberry sauce.


Stored in pint size mason jars with reusable canning lids. 
And an itty bitty jelly jar for samples. 

Gloriously Rich Ice Cream!

Find me for samples of my homemade gloriously rich ice creams and frozen yogurts! 

Ice cream flavors like:

Marshmellowy Chocolate Almond 
Trippple Berry Swirl 
Spicy Cayenne Chocolate
Vanilla Bean 
or Sweet and Sour Lemon Blueberry frozen yogurt. 

You will LUV it!


Wednesday, November 14, 2012

Oatmeal Blueberry Muffins

I was on the search for a healthy muffin. That's hard to find so I created my own from a really delicious recipe of my Moms. The recipe originated from Kentucky when my Mom worked there many many moons ago. Probably before I was even a thought.


The original recipe creates a rich, heavy muffin that I just love. It's a quick breakfast recipe that I can whip up and bake before I lose the attention of the little ones. It's one of those really messy pages in my cookbook. You know what I'm talking about.

So here is the original recipe.

Kentucky Blueberry Muffins (or Banana Nut)
2 c. Flour sifted
1 1/2 tsp. Baking powder
1/2 tsp. Salt

Cream together: 1/2 c. butter and 1 c. sugar.
Add: 2 eggs and 1 tsp. vanilla
Beat together on high. Alternate flour mixture and 1/2 c. milk
Fold dusted blueberries into batter just before baking

Bake 20-25 minutes 375 degrees.

So simple right!


Well recently I have been doing my best at cutting any sugars out of my diet but was craving muffins, so I made a few changes to the original recipe. This creation goes to show how hardy a muffin recipe is. I knew what flavors I wanted to taste and I knew what the consistency of the batter should be and came up with:

Oatmeal Blueberry Muffins
1 c. Whole wheat flour sifted
1 c. Flour sifted
1/2 c. Oatmeal
1 1/2 tsp. Baking powder
1/2 tsp. Salt

Whip 1/2 c. butter until creamy. 
Add 1 c. applesauce (room temp), 2 eggs, and 1 tsp. vanilla
Beat together on high dry ingredients with wet ingredients adding 1 c. milk
Fold in dusted blueberries just before baking

Bake 20-25 minutes 375 degrees.  

I basically added whole wheat flour, oatmeal and applesauce, then increased the milk to get the consistency needed to spoon the batter into to muffin cups. 


Because they are what I consider to be a healthier muffin, they do lack that sugary rich muffin flavor (but they are oh so moist!) so I cheated and added a dollop of cream cheese frosting to the top. So much for less sugar and healthy! Next time I will add agave to the recipe to make them a little sweeter. I also thought about adding peanut butter for protein.

I store my muffins an old pickle jar to keep them moist.

Best Way to Freeze Soup

Use up old milk cartons to freeze just about anything, especially soups. 
This makes it easy for thawing and removal.


Open up the top of the carton, wash and dry.
Add the soups and tape it shut with packaging tape.  


Tape a label on it with the date. 


Store in the freezer. These are easily stackable and can be organized nicely in your freezer. When the time comes to use the soup, just cut the box open, remove and put in your soup pot. 

Friday, October 26, 2012

No Bake Snack - Peanut Butter Honeybee's

A perfect project for a snowy October day. We had a little lesson on honeybees then went to work making some of our own. Did you know bee's have 5 eyes! 

These little snacks might not quite resemble honeybees but sometimes with a 4 year old and a 1 1/2 year old, things don't always turn out like they're supposed to! 

BUT, they are delicious, healthy and super easy to make!  


No Bake Peanut Butter Honeybee's
1/2 cup peanut butter (we had chunky, I'd recommend smooth)
1 TB honey
1/3 cup nonfat DRY milk
2 TB sesame seeds
2 TB toasted wheat germ
Unsweetened cocoa powder
Sliced almonds
Mini chocolate chips (optional)

Step 1:  Toast sesame seeds and wheat germ. Can toast the almonds too. Pop in the oven on cookie sheet with parchment at 350 degrees for about 5-7 minutes.
Step 2:  Mix peanut butter and honey
Step 3:  Add the dry milk, sesame seeds and wheat germ until well mixed. Use your hands. Better yet, use your kids' hands! If too crumbly add more P.B.
Step 4:  Shape into ovals and place on parcment paper cookie sheet (the same one you used earlier).
Step 5:  Dip a toothpick in cocoa powder and press gently across the top of the bee body.
Step 6:  Stick sliced almonds on the sides for wings. My kids thought they should have eyes so we added chocolate chips. Not so sure they look like bee's anymore with the chocolate chip eyes but that's kids for ya!
Step 7:  Chill bee's in fridge for 30 minutes.


If your kids are like mine, they will snack on the ingredients the entire time they are making these. I didn't mind, it's all good for them!  


After chilling them on the cookie sheet (and eating one or two!) I put them in an airtight container so they wouldn't dry out. Back into the fridge - wheat germ needs to be refrigerated. 

Daniel started calling them cracker jack's for some reason. He says they are like crackers but chewey. Okay, sounds good buddy! Crackerjacks it is.

Tuesday, October 16, 2012

Free Range Eggs vs. Grocery Store Eggs

Check this out!


Can you guess which is which? The upper egg is directly from the farm. The bottom egg is from the grocery store. 

Farm eggs have a harder shell and take two hits on the counter to open them. Grocery store eggs crack when you barely squeeze them! 

Farm egg yolks are richer and make anything your using them in (cookies) orange. The yolks are even harder to mix/scramble because they are so thick. The yolk will stick to the edges of the bowl and you need a spatula to get it all out.

Grocery eggs are pale yellow and seem slimy, but they whip well and seem fluffier.

I have some of both in my fridge. I tend to use both. The farm eggs are much smaller than the 'large' eggs from the grocer. So if I'm making 3 eggs in the morning for my breakfast burrito I'll use 2 farm eggs and 1 grocery egg.


Monday, October 8, 2012

Lego Cake

There are many versions of Lego cakes that you can find online. This was a super quick and easy Lego cake that can be done by the average baker and decorator.


And since you are an average baker and decorator I can give you a quick idea of how to do it.


  • All it takes is one 9" x 13" cake. 
  • Cut into thirds. 
  • Cut one of the thirds in half. 
  • Decorate each third or half the colors you desire. 
  • Use marshmallows to complete the Lego look. 
  • Decorate the marshmallows with your fingers. 


Of course I cooled the cake completely then put them in the freezer to make them stiff. Put on a crumb coat, froze or cooled again then decorated. Took me probably 3-4 hours. Always a late night but most enjoyable!

Monday, August 27, 2012

Tractor Cake

A great cake for a fall birthday.  
A simple 2 layer chocolate cake decorated to resemble corn rows and harvest time. 

Tools needed for decorating:
Lazy susan
4 pastry bags
4 tips: #6, #7, #47, #789 
Candy circles
Plastic spackle tool
Cardboard cut into a circle covered with tin foil or a cake plate
Plastic trees
Tractor and trailer

Decorating Instructions:
Step 1:  Apply a crumb coat using tip #789, smooth it out with spackle tool. Refrigerate for 10-15 minutes. 
Step 2:  Apply a thick coating of frosting and smooth out while spinning it on your lazy susan. Smooth the sides first, then the top. 
Step 3:  Apply the boarder using tip #47. 
Step 4:  Create the green grassy area for the trees. Can use tip #47 to give it a more grassy look.
Step 5:  Make your rows using tip #47, leaving a space between each for the corn and leaving a spot for your tractor and trailer. 
Step 6:  Add candy circles. 
Step 7:  Using tip #7 or similar, add corn to your husks and any other creative lines to the boarders and sides. 
Step 8:  Writing on cake can be done using tip #6 or similar.
Step 8:  Now you can put the trees and Tractor/trailer on your cake. 

Tip:
You can go to your local large chain grocery store that decorates cakes (Ralphs, Vons, Cub Foods, Publix, Walmart etc.) and purchase any of their cake decorating kits. Flip through the book and decide what you want. I have even just asked for a random thing like a snowmobile kit, even though it was not in their display book and they had it. Grocery stores have shelves upon shelves of cake decorating kits. They cost about $5.


Friday, August 24, 2012

Plumsauce and Applesauce

 Who's Who? The above picture are wild plums, below are little apples. 
 Step 1 -  Pick a whole lot of apples and/or plums
Step 2 -  Bring them to a boil with about 1/2 water in a big kettle.
Step 3 -  Boil until the skins split and they are soft.
Step 4 -  Scoop them into a food mill. Out comes your hot apple/plum sauce
 Step 5 -  Add a whole lot of sugar. As much as your tongue desires.
Step 6 -  Scoop 2 cups into freezer bags and freeze. If I had more time I would have canned it so it wouldn't take up freezer space.
Mmmmm hot applesauce and ice cream! 

Monday, August 20, 2012

Homemade Buttermilk Cake Doughnuts


Ever wonder how to make doughnuts? It's quite simple and doesn't take much time. I can make a batch of cookies in about the same amount of time.


Buttermilk Cake Doughnuts with Chocolate icing and sprinkles


The recipe comes from an old, really old, Tupperware specialty cookbook/pamphlet.

I made 4 different recipes this week for cake doughnuts and these turned out the best. Especially when eaten warm with the edges still a little crispy.

12-Step Buttermilk Doughnut Recipe
Makes roughly 2 dozen doughnuts

4 c. all purpose flour (I used half cake flour)
4 tsp baking powder
3/4 tsp salt
1/4 tsp baking soda
2 eggs, beaten (room temp if possible)
1 c. granulated sugar
1/4 c. vegetable oil (I used Crisco)
1 tsp vanilla
1 c. buttermilk (room temp if possible)

Other items needed:
2 cookie sheets
2 dish towels or wax paper
Extra flour
Rolling pin
Apron
Ruler
1 or 2 Skewers
Metal tongs or slotted spoon with holes
Paper towels
Tin foil
Plastic wrap
Kitchen timer, watch or clock with second hand for frying
Deep fryer and canola oil, Dutch oven works too. If using a Dutch oven, fill with oil 2" from the bottom and leave at least 2" from the top. Measure temp with candy thermometer.


Step 1 - Stir together flour, baking powder, salt and soda. 
Step 2 - In your mixer bowl, blend eggs and sugar until thick and lemon-colored.
Step 3 - Stir in oil/shortening and vanilla (shortening will make mixture clumpy).
Step 4 - Add dry ingredients and buttermilk alternately to egg mixture, beginning and ending with dry. ingredients. Beat just until incorporated - dough will be sticky. 
Step 5 - Let dough rest for 10-15 minutes in bowl with plastic wrap covering it. 
Step 6 - Lightly flour the counter top.
Step 7 - Roll out sticky dough, adding as much flour as needed so it doesn't stick to the rolling pin or counter top. Roll out to 1/2" thick. Measure this with a ruler if needed because it makes a big difference when it hits the hot oil-they expand.
Step 8 - Cut with floured doughnut cutter
Step 9 - Lift from counter top with metal turner (flipper) and set on a cookie sheet that has either wax paper dusted with flour or a dish towel dusted with flour. 
Step 10 - Fry in hot oil. I gently slide the metal flipper under them and slowly slide them off in the hot oil. Oil should be 375 degrees, fry for about 1 minute per side - dark golden brown. I flip mine with a wooden skewer and remove them with metal tongs. 
Step 11 - Dry them on a drying rack covered tin foil (less mess) and paper towels to absorb grease. 
Step 12 - Let cool before adding icing. The icing was my own creation made with a combination of recipes and I did not write it down but it's basic:


Icing Recipe 
 From memory -- not real accurate but you can play with it, it's very forgiving. 

3-3 1/2 c. Powdered Sugar
1 tsp corn syrup
1 tsp vanilla
1/4 tsp salt
8-9 Tb cocoa powder
1/3-1/2 c. milk
1/3 c. water with 1TB granulated sugar heated to boiling on the stove, simmer 1 minute.

Step 1 - Whisk powdered sugar, corn syrup, vanilla and salt in bowl.
Step 2 - Add the hot sugar water. Whisk until thick.
Step 3 - Begin to add cocoa powder and milk alternately - the mixture should be smooth and drizzly :-)
Step 4 - Taste it. See if you need more cocoa powder. I just kept adding and adding until I liked it. As I added more cocoa I also needed to add more milk to smooth it out.
Step 5 - Dip cooled doughnuts in icing

Enjoy with a hot cup of coffee!


Enjoyable Doughnut cookbooks that I have used:
Doughnuts: Simple and Delicious Recipes to Make at Home by Lara Ferron
Top Pot Hand-Forged Doughnuts: Secrets and Recipies for the Home Baker by Mark Klebeck

Friday, April 6, 2012

Eggs Need Hats Too!

You'll never look at an egg the same. It will seem like something is missing. 

These guests arrived at my Bed and Breakfast this afternoon and are staying through Sunday.

This is Elizabeth, from the sweet town of Custard Ohio. She took a dip in her pool and her mascara ran all over. I re-did her make-up after she toweled off. Note: use a permanent marker or draw the eyes after dipping them. Cupcake paper hat with carstock lining, cupcake paper polka dot dress.  

This is Senor Pepe'. He lives in Dallas and makes the best Texas omelet around. Old headband suspenders, and a toilet paper roll cowboy hat makes him the best around. 

This is Bobby from Zeno California. His favorite thing to do is ride The Wisk at the county fair. Egg carton hat with a red felt brim and lettering. 

This is Princess Rosalee, owner of the Grand Empire on Mille Lacs Beach (MB). She loves to toss coins into the wishing well (wishing for her prince of course). Felt crown complete with Amethyst, Emerald and Peridot jewels. Vera Wang slim fitting egg carton dress. 

 Ah yes, Robin of Hood Fan Montana. Skipping from fry pan to fry pan taking from the omelet to give to the poor scrambled eggs. Triangle shaped, yellow feathered felt hat. Green carton tights.  

The victory Viking from Minnesota. Rooting for the home team. Purple pride pinstripe carton pants, long yellow threaded hair, and card stock horns. 


They each get a room with a view. 

  My own collection of Elizabeth's, and Pepe's.

The April 2012 edition of Family Fun magazine gave us more Easter hat and craft ideas. You didnt think I came up with this on my own did you? Have fun!